
- Access the course page.
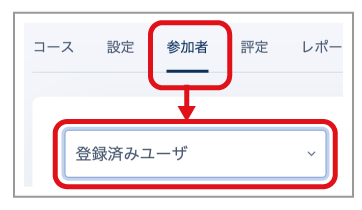
- Click "Participants" in the menu, then click "Enrolled users".
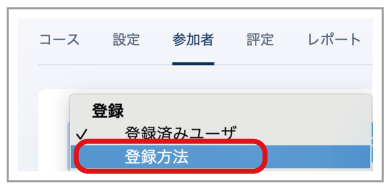
- Click "Enrolment methods" in the displayed menu.
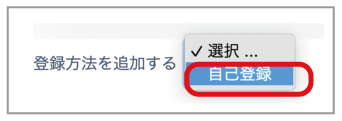
- Click "Add method", then click "Self enrolment".
- Enter the enrolment-key settings.
- Custom instance name: Enter "Self enrolment (TA)"
- Enrolment key: Click the pen icon, enter any enrolment key (password), and press Enter to confirm it
- Default assigned role: Select "TA"
- Click "Add method" at the bottom of the page.
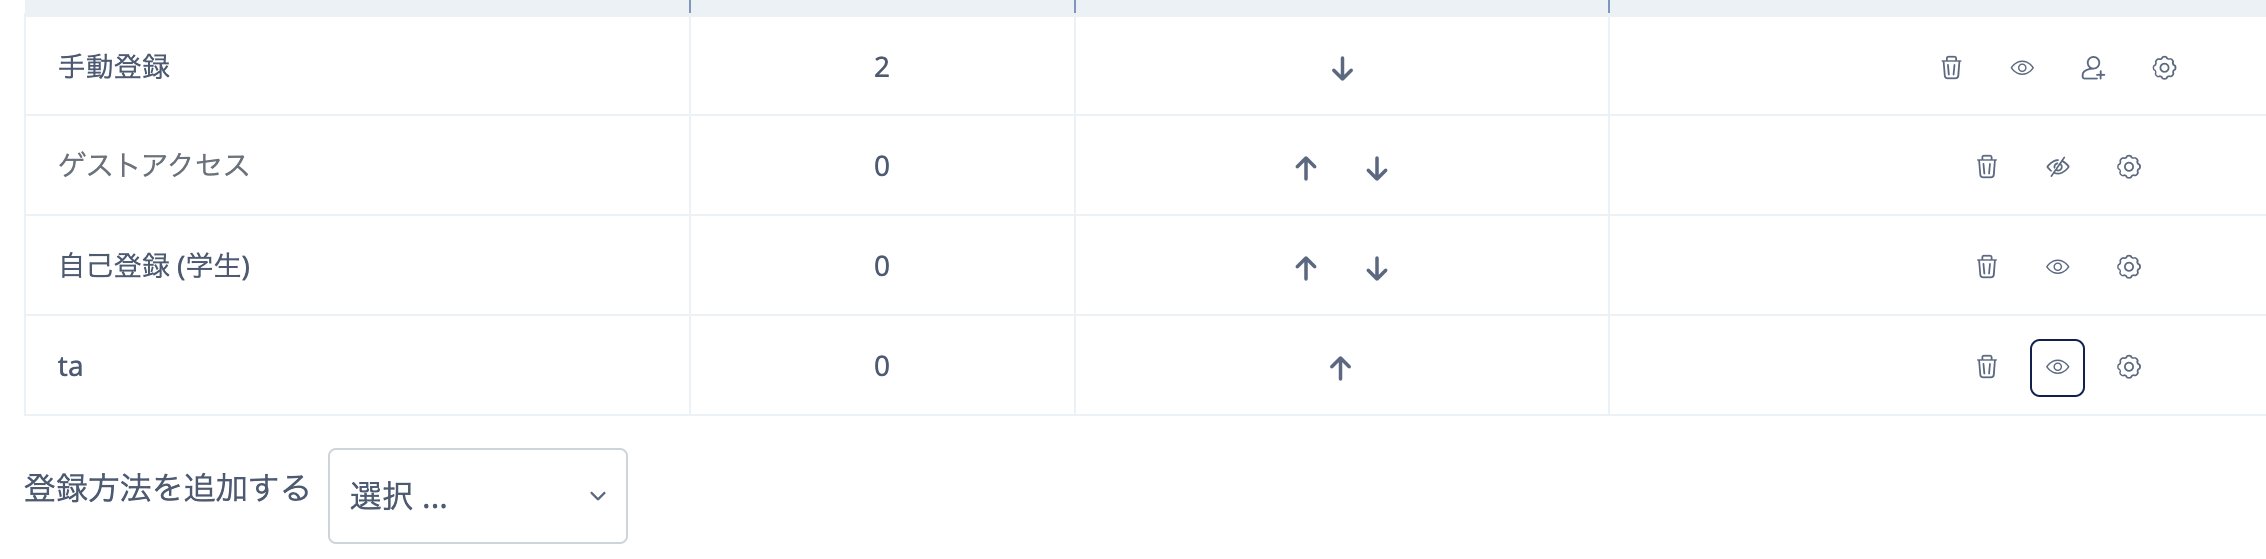
- Confirm that the eye icon to the right of the "Self enrolment (TA)" row is open.
- Tell the student whom you want to enrol as a TA the enrolment key entered in the settings.
_Note_
The enrolment key is associated with the course. Even if there are multiple TAs, do not add (create) another "Self enrolment (TA)" method.
If you create multiple methods, multiple entry fields are displayed when TAs enter their enrolment key, as shown below.
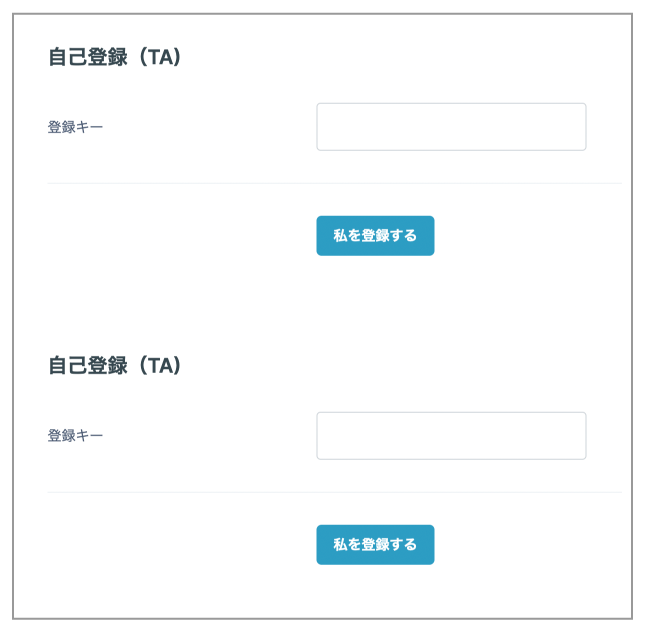
If you do not want to reuse the same enrolment key, set the custom instance names to, for example, "Self enrolment (TA1)" and "Self enrolment (TA2)" so that TAs can immediately see which one to use.
After configuring the settings, tell the TA the custom instance name and enrolment key.